Installation
Basic
Attack Spiders® are best placed close to the woodpecker attack site. Hang the spider about 6″ from walls so it can freely drop and climb.
For large problem areas, use one Attack Spider® every 10 feet. Attack Spiders placed less than 10 feet apart will sound-activate each other. If a woodpecker is attacking on two different sides of the house, install an Attack Spider® at each location.
The Attack Spider® is operated by 2 AA batteries, not included. The battery compartment is on the SIDE of the spider, under a Velcro flap. DO NOT unscrew the bottom cover, as the legs will fall off (and you will have a puzzle to put back together). The batteries last about two months under normal use.
The noise made by Attack Spiders is a gear sound, and not electronically generated.
The Screw Up® Tool for screw hook installation:
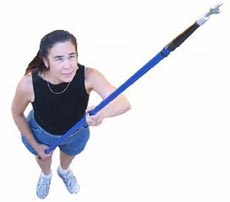
We have created a tool, The Screw Up®, that attaches to an extension pole or broom handle, making it possible to hang the Attack Spider® without a ladder.
Our technicians use this tool to hang up Attack Spiders®. The Screw Up® makes the job safe, fast, and easy.
The Screw Up® has many other uses, and can also make hanging holiday lights, decorations, and bird feeders easier than ever.
1. HookInstallation
Suggested tools:
- Drill + bit for starter holes
- Ladder
or - The Screw Up® and an extension pole or broom handle
Materials needed:
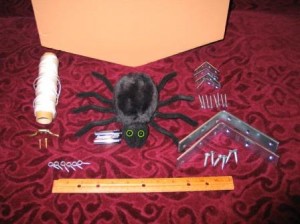
- 1 screw hook
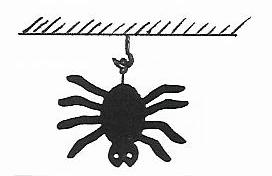
Hang the spider by the metal ring tied to the end of the web string on a hook above the woodpecker damage. Turn the power switch to the “on” position during woodpecker activity.
2. Pulley Installation
Suggested tools:
- Drill and bit for starter holes
- Ladder
or - The Screw Up® and an extension pole or broom handle
Materials needed:
- 2 eye screws or 2 screw-hooks.
- String or cord (use double length)
Suggestion:
- Match the string color to the color of your house.
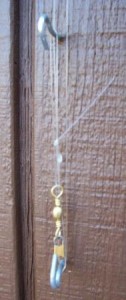
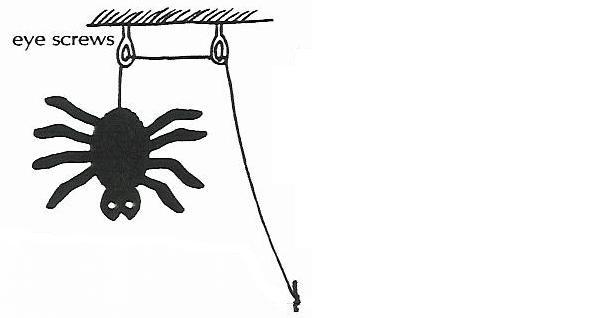
Hang the spider under the eave of your home where the bird is attacking. If your eaves are high, use a pulley system which will allow for maintenance. Make the string long enough so you can lower the spider to change the batteries without the use of a ladder. It is important to position the spider at least 6″ away from the wall so that its legs do not grab the siding when climbing back up the string. Keep the spider dry. Use enough units to adequately protect the areas being attacked; we recommend 1 unit every 10 feet. You can check the batteries by clapping to see if the spider drops.
3. Bracket Installation
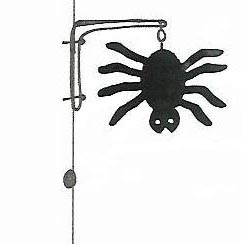
Sometimes the woodpecker damage is quite a distance down from the eaves. In this case, a 5″ to 10″ shelf-type bracket can be installed above the attack site. You can fasten the ring directly to the end of the bracket.
You can also use the Pulley install through the end of the bracket for easier maintenance.
Suggested tools:
- Drill + bit for starter holes.
Materials needed:
- 5″ to 10″ shelf-type bracket
- screws to mount bracket
4. Battery Installation
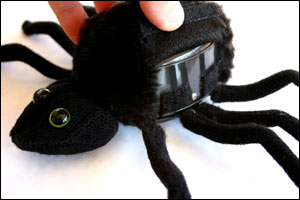
- Lift up the plush Velcro battery cover located on the spider’s left side.
- Use a phillips screwdriver to unscrew the battery compartment cover.
- Install 2 “AA” size alkaline batteries (not included) in the proper (+) (-) positions.
- Place the cover back and screw it closed. Then fold the Velcro flap back to cover up the battery compartment.
- Turn the power switch to the “on” position and find a good place to hang the spider by the metal ring.
- For those few who unscrewed the belly plate of the spider looking for the battery compartment, click here to see how to put the legs back on.
5. Use of Fishing Swivel for Rapid Disconnect
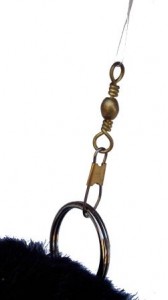
Use a fishing swivel to allow rapid connection and removal. If you wish to take the spider down for the winter, simply detach the spider and hook the swivel onto one of the tie downs.
6. Weather Exposure: case study at a Stanford University solar power facility
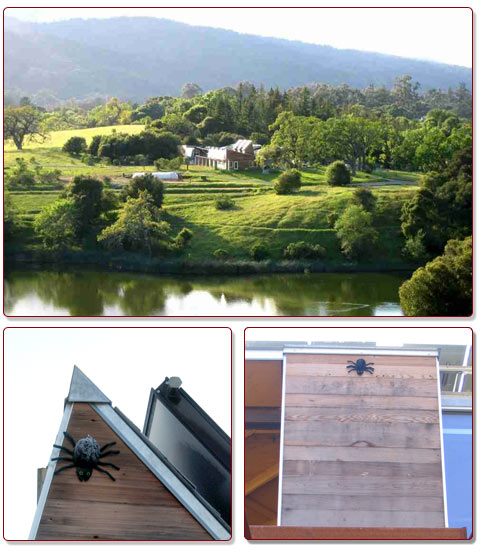
We recommend that Attack Spiders be installed under eaves where they are well protected from rain and sun. However, this is not always possible, as many structures do not have eaves.
The Attack Spiders are proving to be quite durable in fully exposed situations.
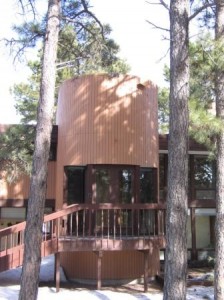
To the right is a photgraph of the Leslie Shao-ming Sun Field Station, a solar energy facility located in the Jasper Ridge Biological Preserve, Stanford University, Woodside, California. Surrounded by oaks and acorn woodpeckers, this facility became a focus of woodpecker activity.
Cary Tronson, Operations Steward for Jasper Ridge, has used Attack Spiders for two years, in full, exposed (no eaves) applications to protect the buildings from woodpecker attacks.
To the right, below, are some photographs of typical installations at this facility. There are no eaves. The Attack Spiders are exposed to full sun and rain and wind, 24 hours a day, year around.
Cary Tronson reports an Attack Spider death rate of about one out of eight a year, or a survival rate of 87.5% per year.
Considering the high cost of damage repair to the low cost of Attack Spiders, this makes for cheap, effective protection.
Under normal conditions, we suggest taking the spiders down for winter and hanging them again in spring, or whenever the woodpeckers attack.
7. Ladder Safety
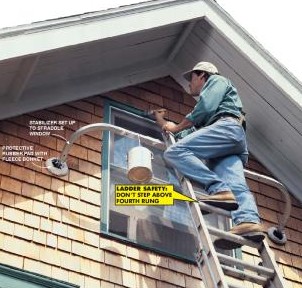
If you use a ladder, consider using a ladder stabilizer, as shown on the right.
Or use our installation tool.
